Mounting scheme
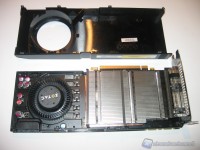
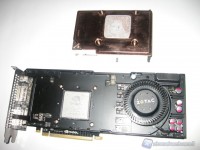
The mounting scheme is not difficult, it requires just a little bit of attention and a hands-on time. Here are the steps to follow for the correct installation and to avoid unpleasant consequences. So let's show you a brief guide to the dismantling of the standard heat sink and the subsequent installation of the water block in order to simplify the task, which is not difficult, but requires only a minimum of attention and practice. First, in addition to the Phillips screwdriver, you'll need a measure 8 Torx screwdriver, to unscrew the many screws that we will show you on the side of the PCB of the board. Let's proceed to first loosen and remove with a light pressure the plastic bezel.
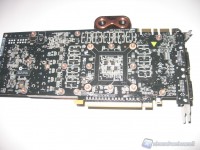
Now with the tipped Torx screwdriver that we mentioned before you go to first unscrew the 4 screws that keep the copper GPU heat sink attached, omitting for the moment the other Torx-head screws. With gentle pressure (to us came off by itself due to the weight) unplug the GPU heat sink block.
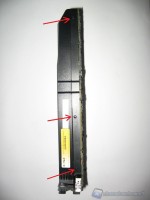
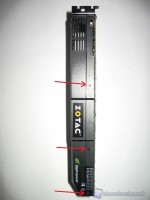
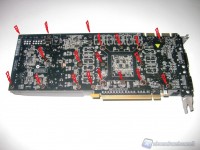
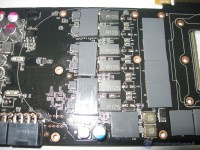
Now proceed to remove the remaining screws with the Torx screwdriver, which are arranged on the PCB of the VGA and reported by us by the red arrows.
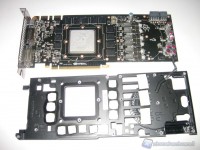
With light pressure, gently, the metal skeleton should come off. It has a dual function: on one side it cools the various RAM and power chips while on the other side it has the important function of support, to avoid any twists that may damage the card.
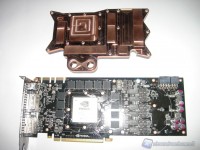
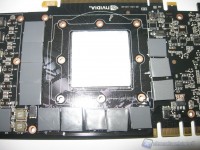
Let's go now to gently remove the residue dough and the thermo-conductive pad.
Clean the surfaces thoroughly as well the various chips and the GPU, we will use the spare pad included that, thanks to a pair of scissors, we are going to bear away to cover all surfaces of contact that will be affected by the water block.
With the supplied syringe we will spread a non excessive amount of dough (the size of 2 rice grains) on the GPU. Below a picture that explains the concept.
By doing so attention to the contact points, we will place the water block and secure it with its hex-head screws that, through the plastic washers, we're going to tighten, using the Allen wrench with the bare hands to avoid tighten too much and damage part of the circuit.
And here is the video card coupled with Alphacool NexXxos NVXP GTX580/70 water block. The 2 included cap serve to close 2 of the 4 holes, if you have one video card to be inserted in the cooling liquid circuit. After venting the system from the air and checked that there was no leakage, we have inserted the video card in a PCI-E motherboard and started our PC.

